Build a base: moving boxes Premium
A sealed box is a question with no answer. This chapter builds, step by step, a base that answers it: every box becomes a record, and what is inside becomes findable.
What we are going to build
Fifteen fields, two filters, one label. The result fits on one line: Box no. 12, attic, stored, raclette grill, ice cream maker, tart tin.
This base serves a move, an attic, a garage or a storage unit, and just as it is, a cellar, a workshop or a club's storeroom.
The wizard, four steps
Bases tab, then Create a base. The wizard asks four questions, in this order, and writes nothing before the final button.
1. The name and the icon
A short name, an icon you can pick out of a list.
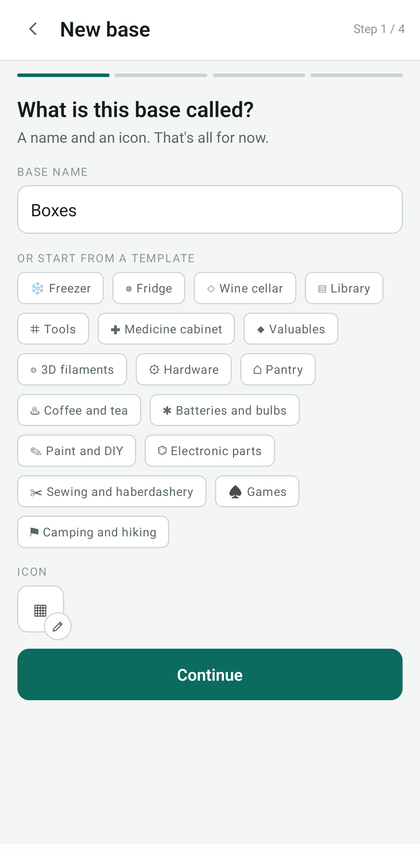
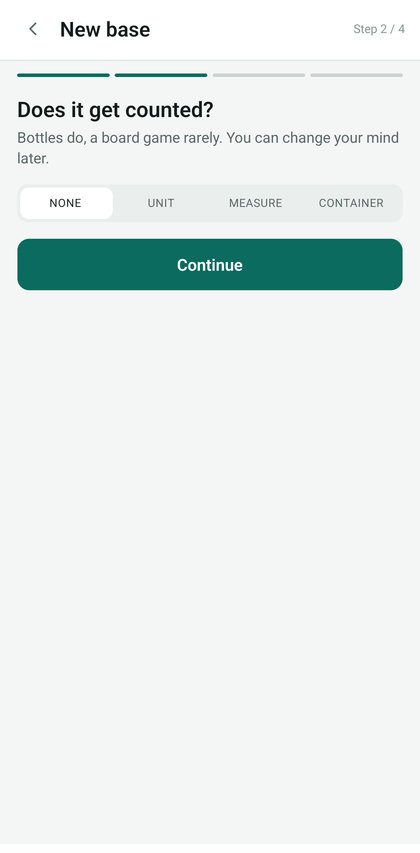
2. The quantity
The question is “Does it get counted?”. Choose None: a box is not a quantity, it is a container.
3. The fields: all fifteen are added here
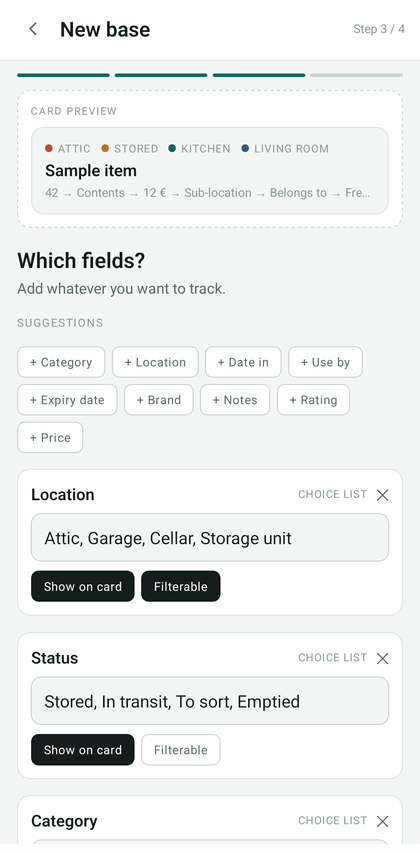
The screen arrives empty, with three things: the card preview at the top, which shows what an item will look like; a row of suggestions; and at the bottom the Add a field block.
To create a field, three gestures in this order: type its name, choose its type from the nine chips, then Add. The type offered is Text: choose it before adding, it can no longer be changed inside the wizard.
Nine suggestions create a field in a single tap, with its type already set: Category, Location, Date added, Use by, Expiry date, Brand, Notes, Rating, Price. Four of this base's fifteen fields come from there. A suggestion you use disappears from the row.
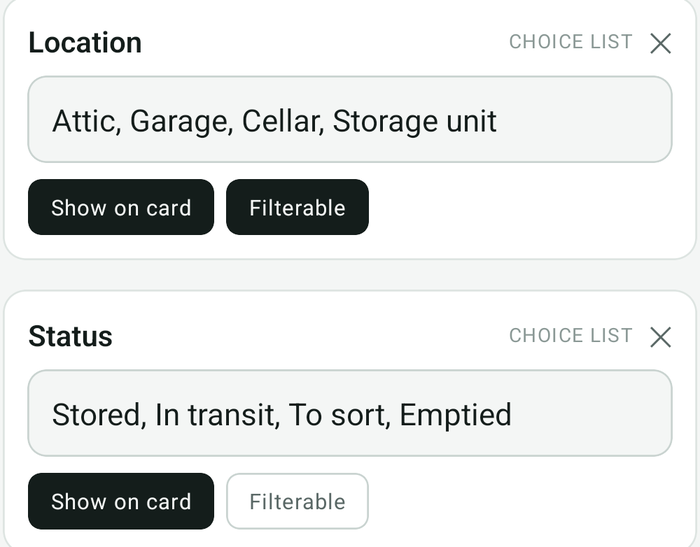
Every field you add becomes a card. A choice list takes its options right there, separated by commas, and two settings fit in one chip: Show on card, on by default, and Filterable, off. Turn Filterable on for Location: that is what puts its options in the filter row at the top of the stock.
The wizard accepts only one filter: turning Filterable on for one field turns it off for the others. The second one is set afterwards.
The fifteen fields are added on this screen, one by one, in the order they will appear on the record. Here they are group by group, starting with the first: the location.
Step 3 · the two filters
Five or six options are enough for the location: beyond that, the row of chips runs off the screen and the filter becomes a menu nobody opens.
An unpacked box is not deleted: set it to “emptied”. Its record keeps the list of what it held.
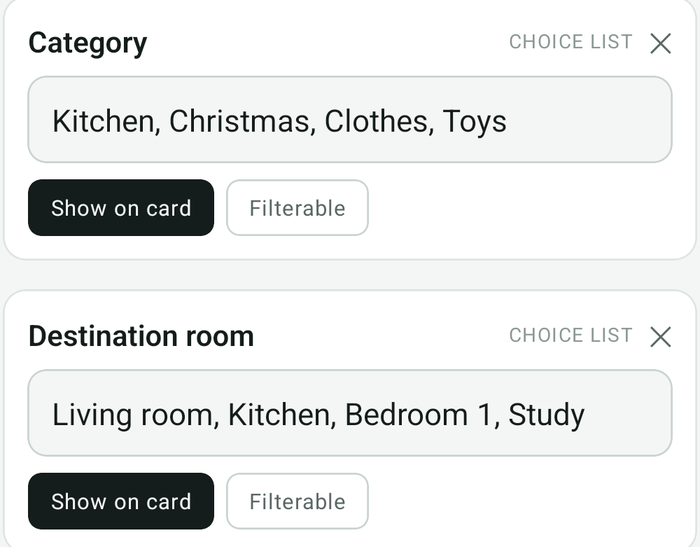
Step 3 · the category and the destination room
The category answers “what am I looking for”, the location answers “where”. Trying to mix them into one list gives options like “attic toys” that stop meaning anything the moment the box moves.
The destination room only matters during a move, but it transforms the unloading: every box goes straight to the right place, without a stop in the living room.
Step 3 · the number and the contents
Do not number by area, such as A1 for the attic and C1 for the cellar: the day the box goes down to the cellar, its number means nothing.
The contents are written one line per object: “raclette grill”, not “kitchen things”. That is what the search reads. You will never need to find kitchen things.
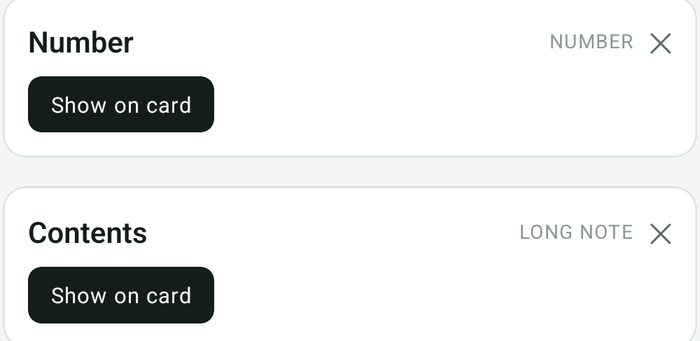
Step 3 · the photo and the value
For the value, a rough estimate beats nothing at all: a hundred euros rather than the exact price of each object.
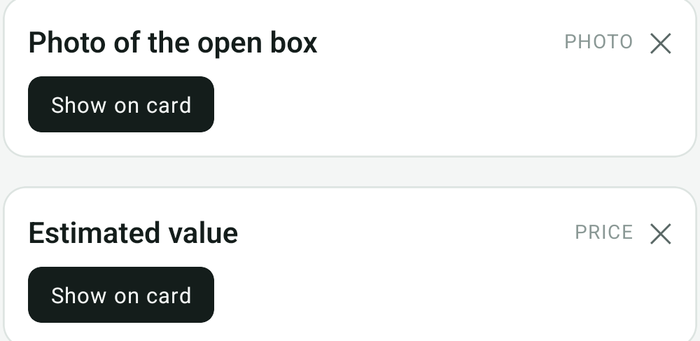
Step 3 · the last seven
Seven fields with no particular setting, added one after the other: Sub-location and Belongs to as text, Fragile and Heavy as yes/no, Free note as a long note, Packed on and Check again on as dates. Both dates matter: the second one will trigger the reminder at the next step.
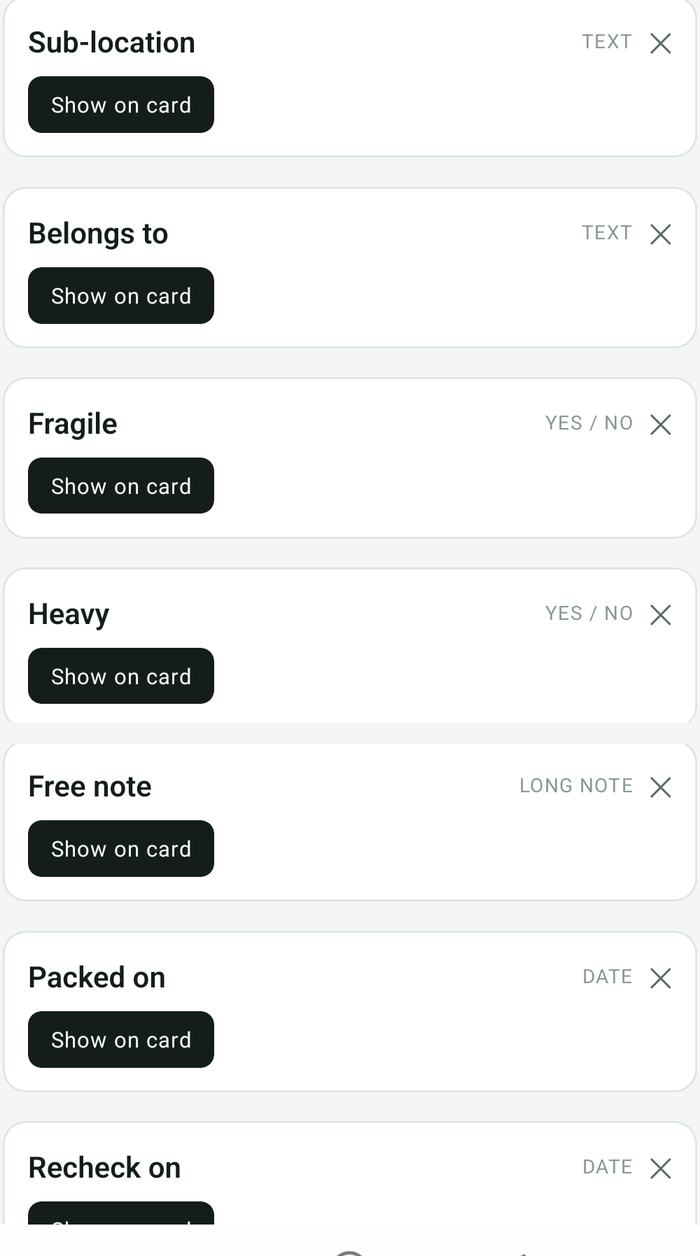
The fifteen fields are in place. The screen now looks like this:
Tap Continue: the wizard moves on to its last question.
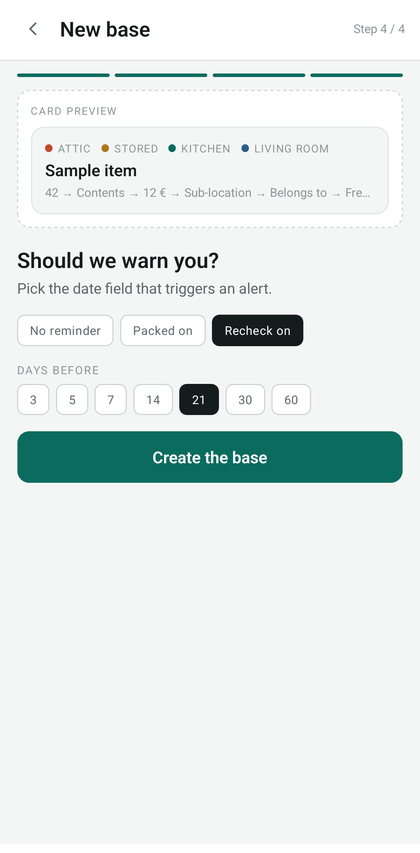
4. The reminder
Only one date field can trigger reminders. The only deadline that matters for a box is the day you want to be reminded about it: choose Check again on.
The second setting, Days before, only appears once that field is chosen.
After creation: the second filter
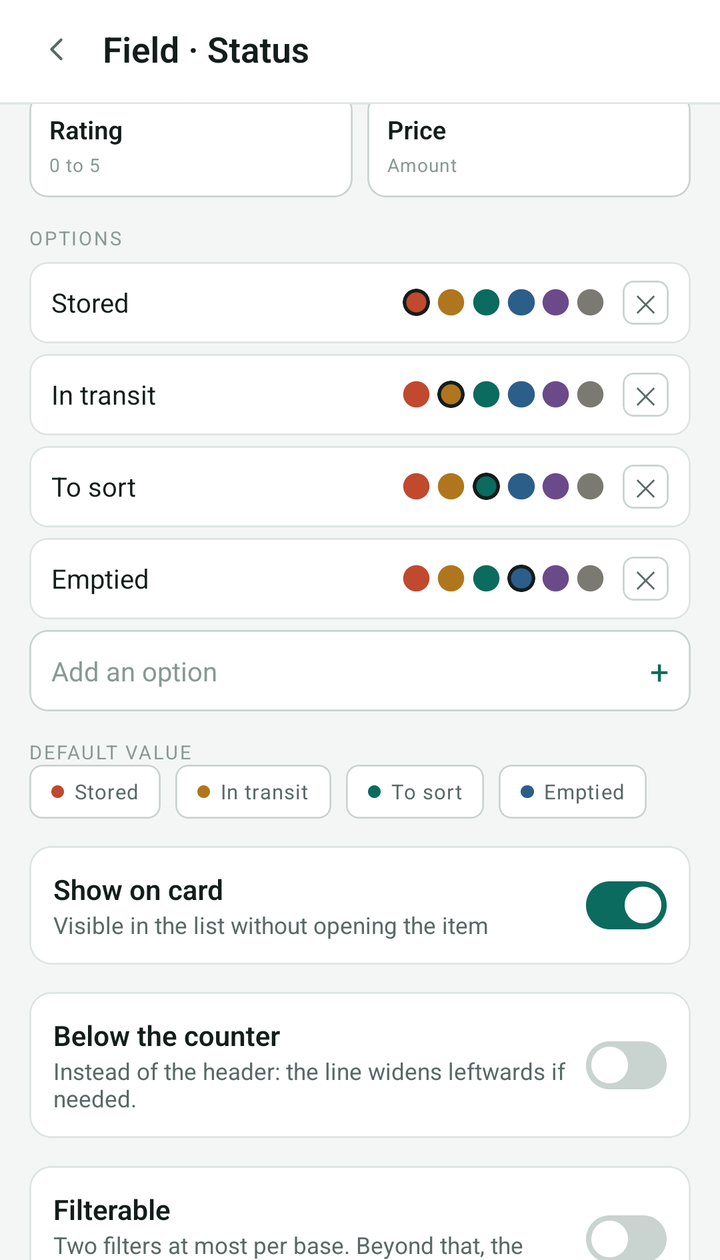
Bases tab, the settings icon to the right of the base (tapping its name opens the stock, not the settings), then the Status field: the Field screen opens on its full settings. The options become a list there, each one editable and colourable, and the Filterable chip no longer switches off.
Filling the first box
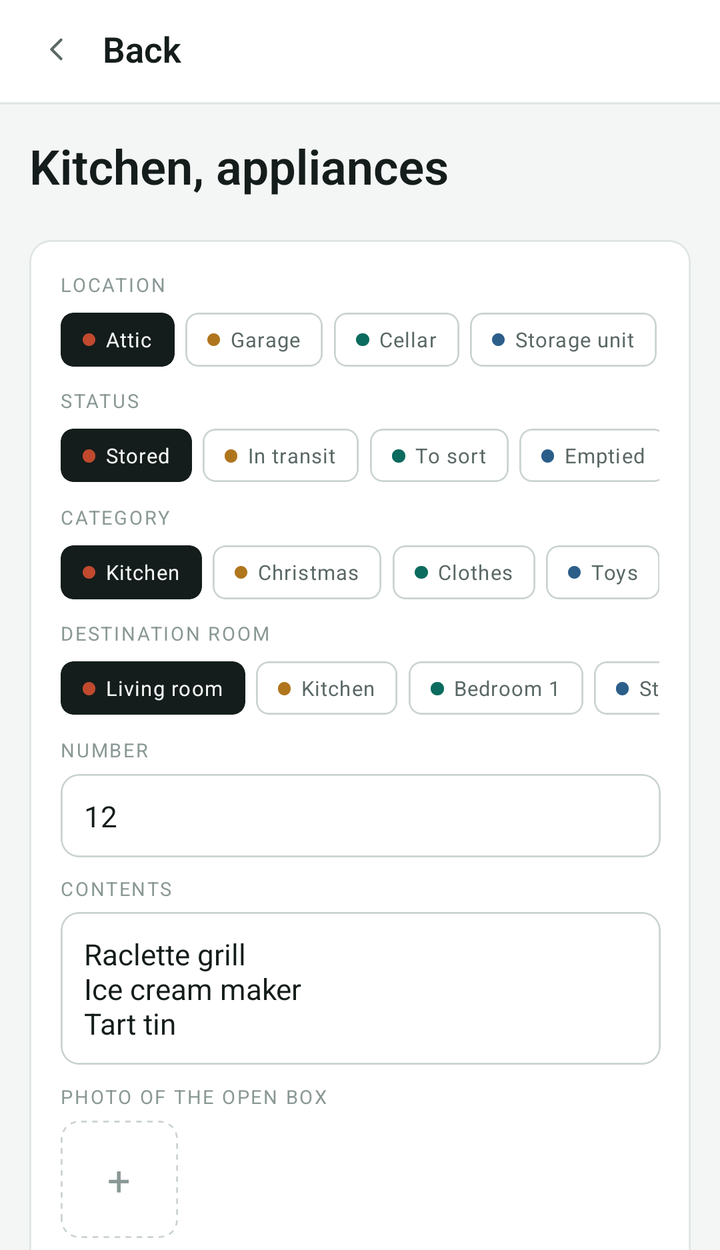
Add tab. Only one field is required, the name: write what is inside, “Kitchen, appliances”, not “Box no. 12”, the number has its own field. Then the location, the status, the number, the contents line by line, the estimated value, and Fragile if it applies.
The label
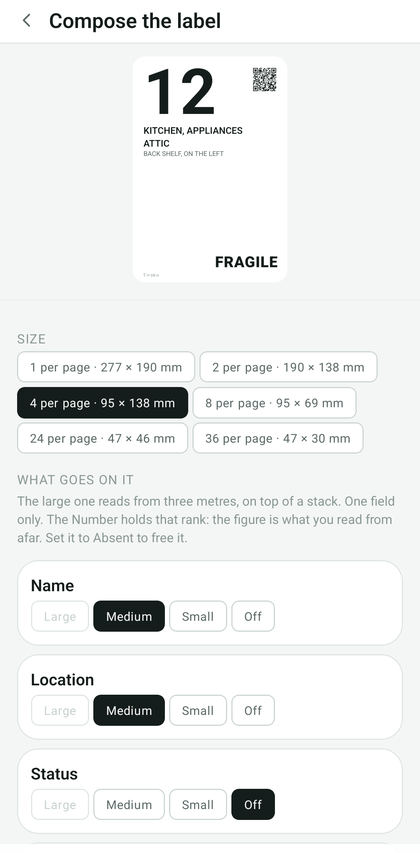
Base settings, then Label sheet, then Compose the label.
The number goes large on its own: as soon as a Number field is on the label, it takes that rank, because the figure is what you read from the end of the corridor. Set the name and the location to medium, the sub-location to small.
Choose 4 per page. The 36 per page suit a screw bin, not a box sitting on top of a stack.
Stick the label on the side of the box, not on top. A box sitting on the floor in a stack shows only its sides, and the one underneath shows nothing at all if the label is on top.
The Print button opens the phone's print preview.
To print on a thermal label printer rather than on paper, see The Bluetooth label printer in the help.
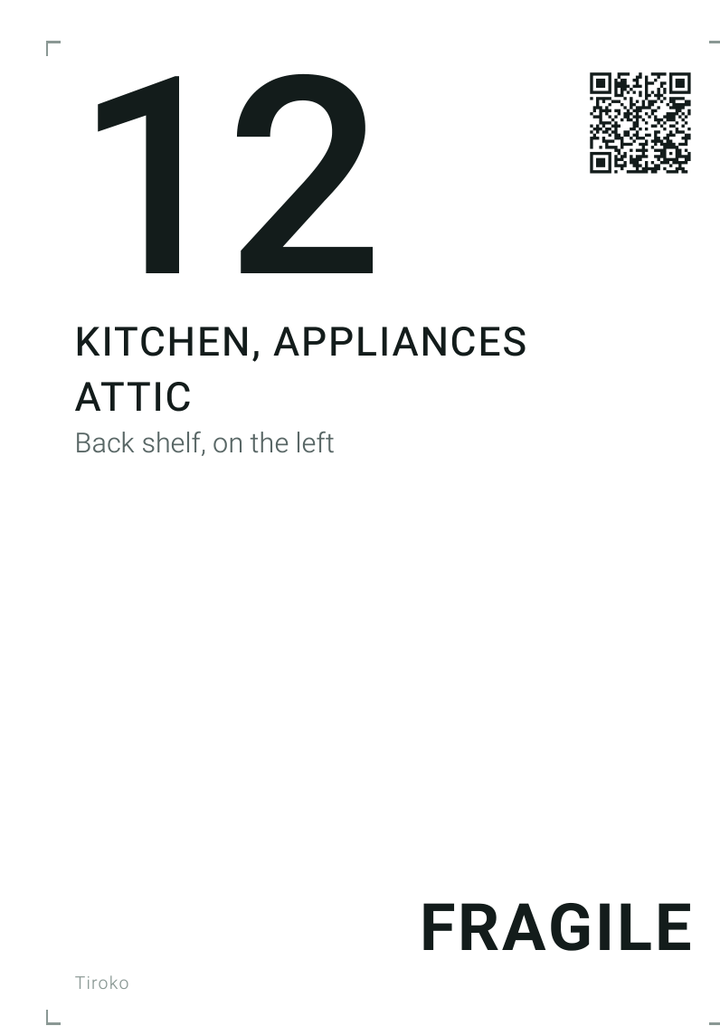
The result
The question you started from
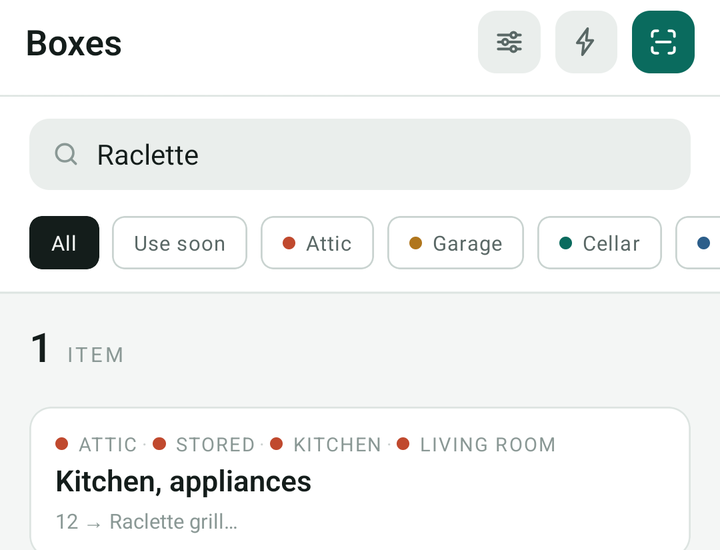
“Where is the raclette grill?” Type raclette in the search: box no. 12 comes up, with its location.
The PDF inventory
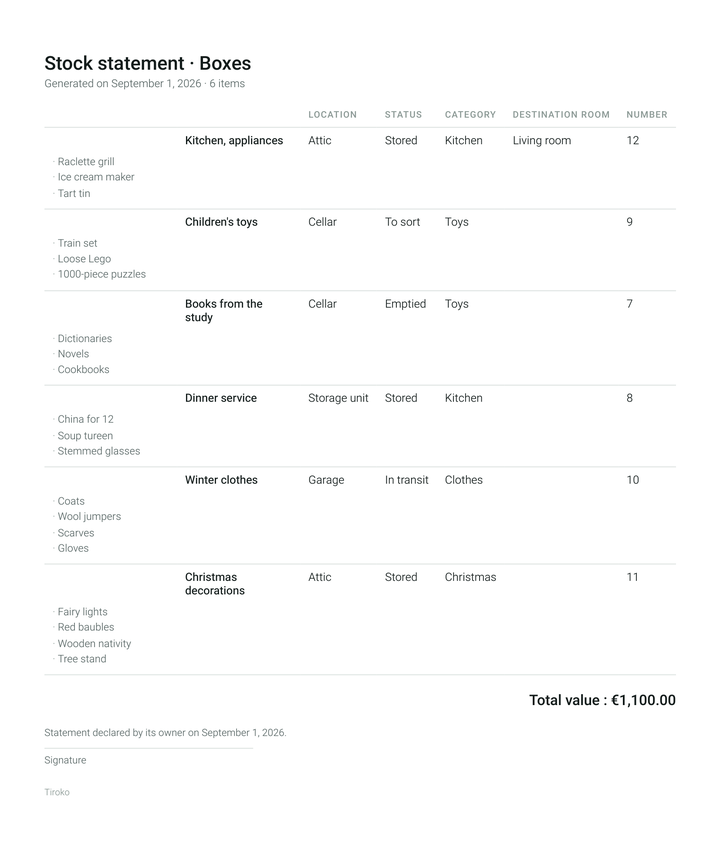
Base settings, then Export the stock as PDF: every box with its contents and its value, presentable to your insurer.
What to remember
- None for the quantity. A box is identified, it is not counted.
- One line per object in the contents. That is what makes the search useful.
- Two filters at most. Location and status are the ones you really ask about.
A question about this chapter? Write to us: contact@tiroko.app.